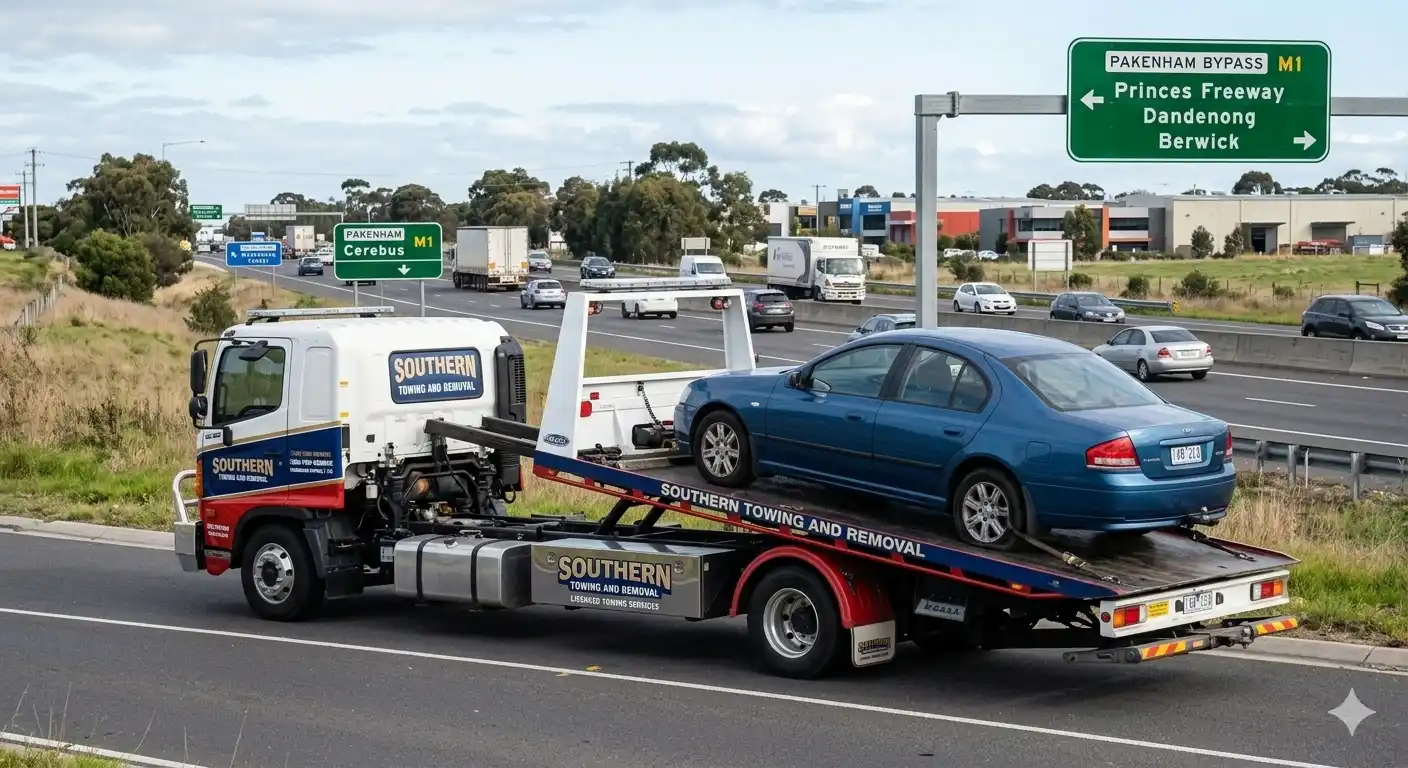
As a frequent traveller on Melbourne’s vast transport system, you’re familiar with the Monash Freeway (M1) as the economic backbone of the southeastern suburbs. Long, expansive and running from the margins of the city centre outwards, through the thick industrial and residential areas of Chadstone, Dandenong and Berwick, it carries hundreds of thousands of vehicles each day. The Monash leaves no margin for driver error though, with speeds reaching a hundred kilometres per hour and high-density traffic. When your engine suddenly starts to overheat, the tire monitoring sensor flashes furiously on your dashboard, or you just feel a crushing sense of fatigue and driver fatigue, where is the safest place to pull off the road?
To cope with an emergency in today’s smart motorway, you need a proactive approach. You can’t just pull over wherever you like on a large stretch of the Monash Freeway that uses managed motorway technology, where the shoulder is often shared with drivers. It’s important that you know the road layout, be aware of which signage marks a specific safety zone and understand how to utilize the infrastructure that is built into the road to remain completely safe, whether you’re driving, passengers or on foot.
Understanding the Managed Motorway System and Overhead Lane Signals
It is important that all Melbourne motorists learn how the smart infrastructure on the Monash Freeway works, before they can identify where these are physically located along the corridor. Traffic control on the M1 is managed through an integrated overhead electronic gantry signalling system, lane control system and automated vehicle detection sensors by VicRoads. The far left lane is sometimes used as a regular emergency shoulder during off peak hours and is usually separated by a solid white line. During the morning and afternoon rush hours, however, when the number of cars becomes so large that a situation of bottlenecks is likely, control room operators switch this shoulder into a live running lane.
If a green speed limit arrow is directly over the shoulder lane, do not stop there.
It is extremely hazardous to park a stationary vehicle in an active high-speed lane and it is an invitation to a high speed rear end impact. In the event of a major mechanical failure with your vehicle while the shoulder is up, the most important thing you need to do is to get it to a special Emergency Breakdown bay or until the overhead control room sees your flashing red lights and drops a large red cross signal on the gantry behind you. This red X is legally used to close the road to other vehicles, providing a physical barrier between your truck and other vehicles that will provide safe access for local flatbed recovery vehicles to your vehicle.
The Western Sector: Citylink Transition to Warrigal Road
The Monash Freeway to Warrigal Road (west side) is a notorious narrow section running immediately after the CityLink tollway network but near Toorak and Kooyong. This sector is virtually enclosed by urban development and the structural concrete retaining walls and has very narrow physical boundaries and high condensation of sightlines. If your car starts to get trouble at the beginning of your trip, there’s only one way to stay safe; exit the freeway grid entirely at the nearest large urban highway exit. If travelling outwards and seeing a mechanical problem start to arise beyond the Burnley Tunnel, try to make the Burke Road or Toorak Road exit off the motorway at the earliest opportunity. These off-ramps have wider traffic lanes in the city, and they’re also equipped with traffic lights on the surface level so you can pull onto a quiet local side street completely out of the flow of high-speed freeways.
The road geometry widens slightly as you head towards the major Warrigal Road interchange (Exit M14). If you are able to take the Warrigal Road exit safely, you can find a number of large commercial service station forecourts and quiet industrial side streets off the main arterial road. You can park in these areas for an inspection of your vehicle, contact a mobile mechanic or wait safely for a local trade tow truck to pick you up without clogging the high speed commuter lanes.
The Central Industrial Arc: Huntingdale Road to the South Gippsland Freeway
The Central Industrial Arc, from Huntingdale Road to the South Gippsland Freeway is a true smart motorway structure as the road shapes itself through the heavy commercial and industrial heartland of Clayton, Springvale and Dandenong. The dedicated emergency “breakdown” bays play an important life-saving role for motorists who become stranded in this central sector. These engineered bays are deeply set into the headland and identified by prominent signs, painted in bright green, and expressly separated from the roadway traffic stream by large concrete barriers or wide painted dividers.
These highly secure emergency breakdown bays are to be found at regular intervals on both the inbound and outbound sides of the M1, especially around the junction points of Blackburn Road, Wellington Road and Springvale Road. These alcoves are maintained around the clock with cameras that automatically detect any incidents and connect directly with the freeway control center. When you arrive in one of these road-side bays you will be in the best possible location on the road-side network. The deep recess helps to protect you from being hit by a mirror or from having a speeding commuter car or a passing semi-trailer rock your car through aerodynamic wind currents. In addition, the space of the physical roadway increases manyfold when a car stalls near the huge South Gippsland Freeway interchange, with wide, dedicated gravel shoulders, and large grass verges behind heavy steel safety barriers.
The Eastern Growth Corridor: Hallam to the Pakenham Bypass
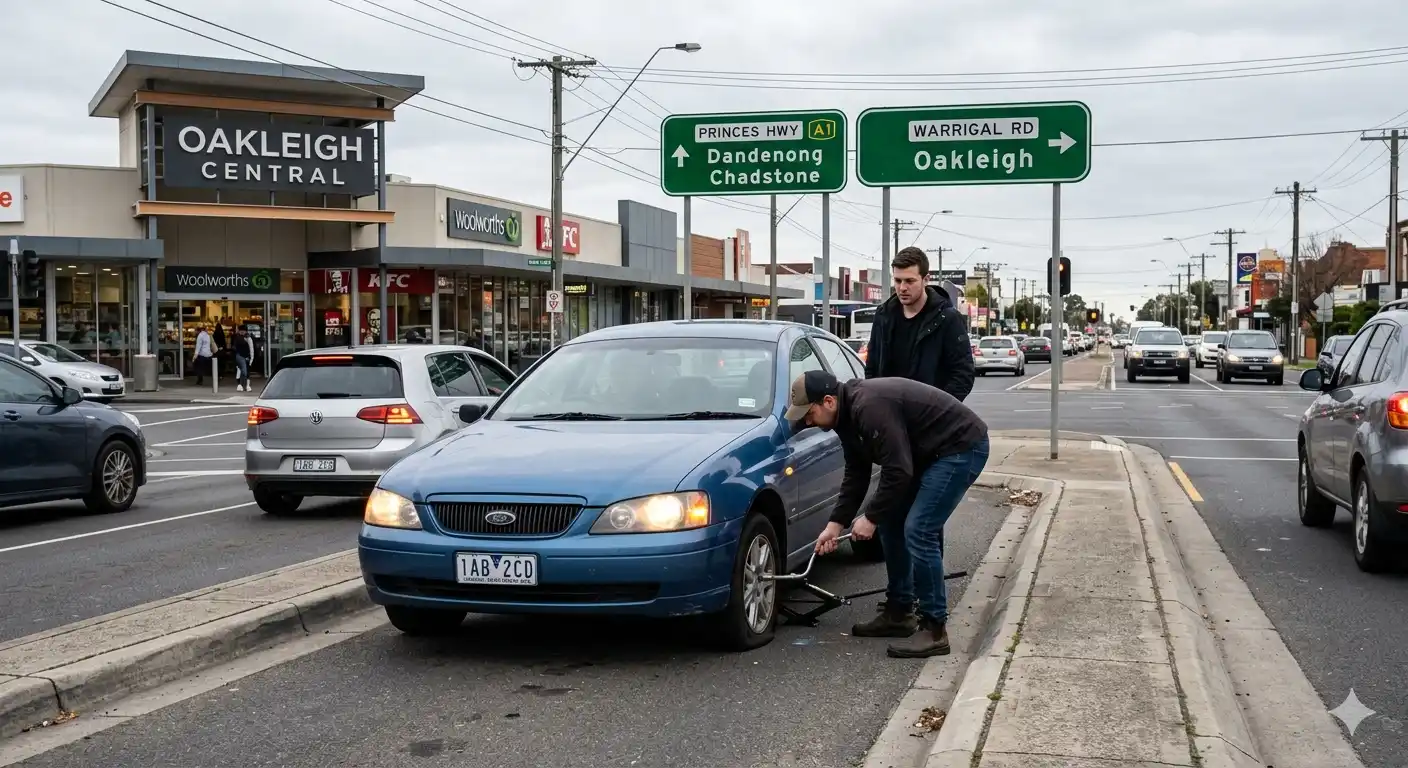
In the east of the Monash Freeway, there are a lot of heavy commercial goods transport trucks transporting goods and thousands of people commuting in a day to outer residential centres such as Officer, Berwick and Narre Warren. The concrete retaining walls are replaced by open geographic landscapes, road reserves and large expanses of rural style shoulders as the road travels further away from the dense inner urban core. In case of an emergency breakdown, try to use the wide shoulders provided by the left side of Hallam’s freeway which run continuously along the road. The expansive grass embankments surrounding these shoulders will allow your passengers to climb completely over the steel safety barriers and wait on safe level ground several dozen metres away from the active asphalt when it is necessary to get from the vehicle for a critical safety reason, such as the engine bay being too hot to be in or a fuel leak. Also, the Monash will make a direct link into the Pakenham Bypass, with dedicated and signed rest areas and large heavy vehicle stopping bays specifically designed to address driver fatigue.
Once you enter these formal stopping zones you will be totally physically separated from the active motorway and will be given a secure, well-lit environment to conduct basic road side troubleshooting activities, check tyre pressures or coordinate a professional flatbed vehicle recovery.
Important On-Site Protocols While Waiting for Recovery Vehicles
Pulling over in a safe physical area is just the beginning; how you manage your environment while awaiting a recovery vehicle determines your final safety. When you pull off to a complete stop in an emergency shoulder or break down bay, you need to be as visible as possible. Turn on flashing lights. Flash lights right away. At night, dawn or dusk, or if Melbourne’s unpredictable weather turns to heavy rain and low visibility, leave your vehicle’s parking lights and interior cabin lights on to ensure that your car is visible to oncoming traffic from hundreds of metres away. Our guide on staying safe on a busy highway covers these signalling steps in more depth.
Turn steering wheels front-to-front on your car to the left before the ignition is turned off. If a vehicle, completely unprovoked, drifts over into the road you are in, hits the back on the windshield and rolls over, the wheels will roll over the grass or concrete barrier and not drive into a live road of moving vehicles. This is an important mechanical insurance policy.
In case of an immediate fire or smoke hazard, leave the vehicle only by the left side, passenger door. Do not walk along the side of the high speed lane. If outside, proceed immediately up the grass bank, or stand firmly behind the steel guardrails. Never stand directly in front of or behind your vehicle, if it is parked; a second collision may trap you between vehicles. Be extra vigilant when approaching traffic until Roadside Assistance arrives.
Once you get through, having your exact location and vehicle details ready speeds everything up. Our guide on what to tell your tow driver during a roadside emergency covers mile markers, GPS coordinates, and the other details dispatchers need.
Parking rules cut both ways, so know your options when a neighbor is blocking your driveway.
Get in touch with Southern Towing & Removals